
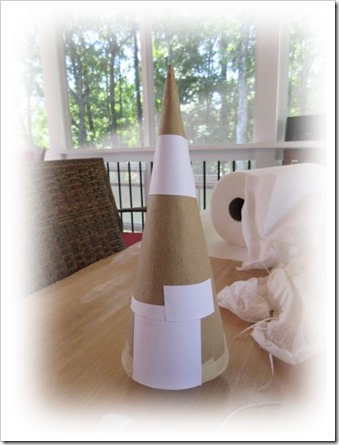
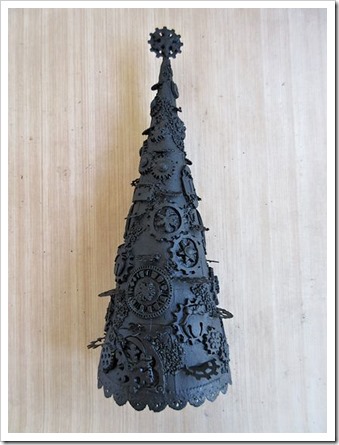
Taking up where I left off. I began the interior details by working on this cone – or tree. As you can see, this is the same photo from my last post.

For the next stage I added some card stock sections for some texture and detail.
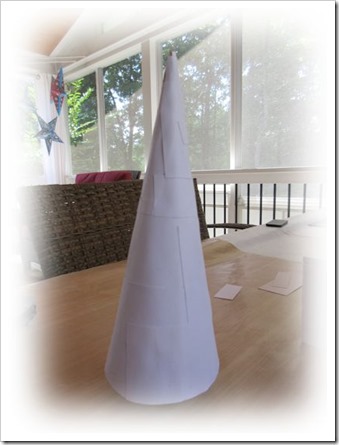
I covered the entire cone.
The next bit was the tricky part. I wanted to add gears, but the ones I had were not flexible at all, so I had to create some. My first attempt with paper clay you see here.
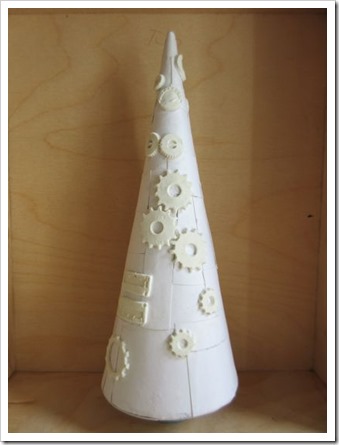
While they were okay, I then experimented with a particular kind of polymer clay and after seeing the much improved results, I started over. The same way. New cone, new card stock. Different approach. I definitely appreciate learning from my mistakes.
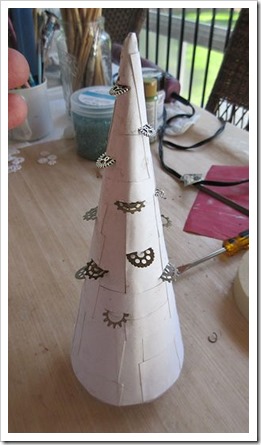
I added more gears and more baubles similar to what I had used on the front panels.


Then it was back to black. You know the process.
And adding color. This first stage: green.
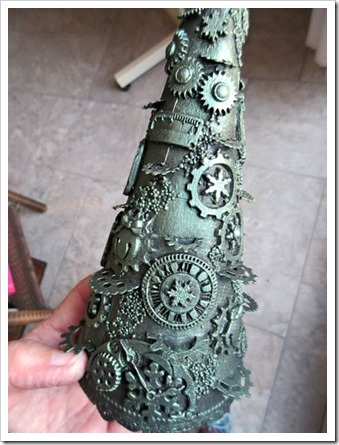
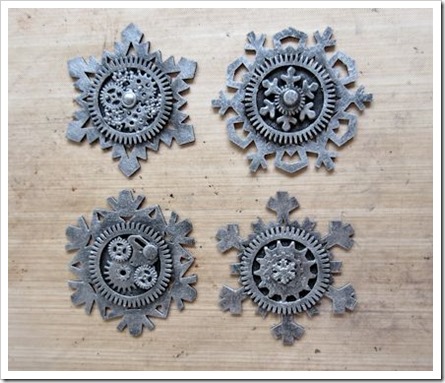
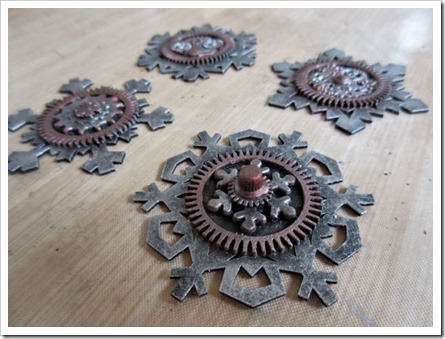
By now, you must have guessed I am making a steampunk inspired Christmas piece. It was interesting merging snowflakes and gears.
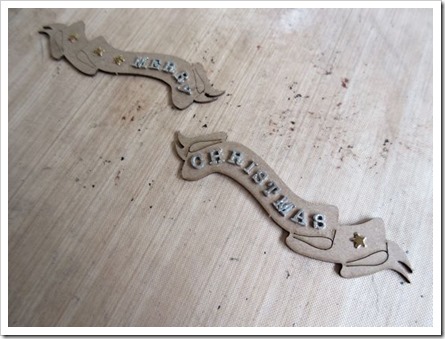
I added a few other elements including these banners.
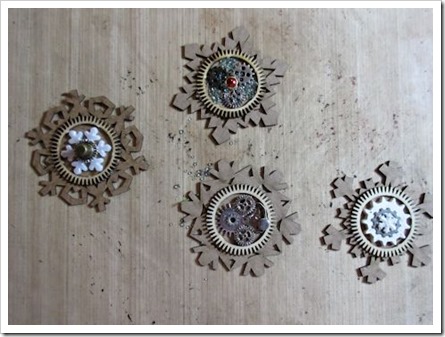
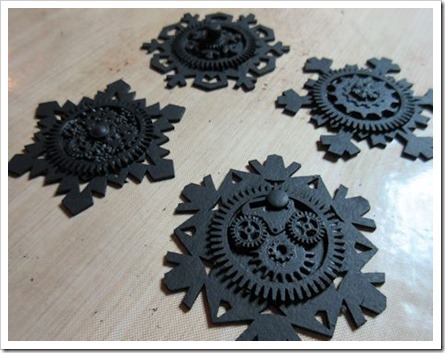
Then I decided to make a few more snowflakes from some bits I had on hand.

My next post I will share photos of the completed piece.
As always, thanks for reading!


No comments:
Post a Comment
We appreciate your comments so much and love reading them! Thank you for visiting bearbits!